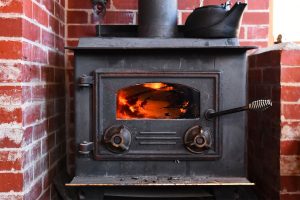
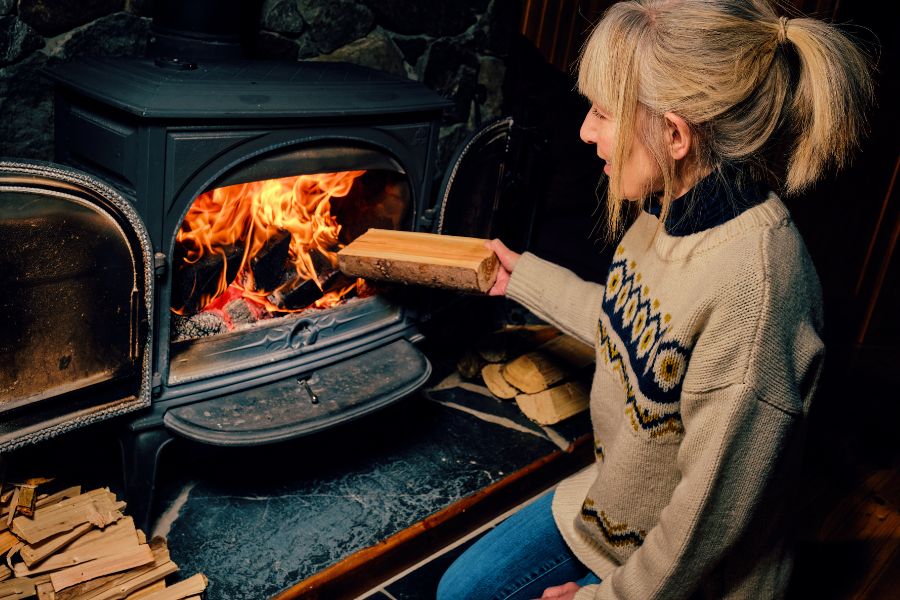
The long, cold months could be dreadful without a promise of warmth. Many families rely on different tools- the wood-burning stove is one of the reliable options. However, the challenge most users face is optimizing the distribution of warmth throughout their homes. It’s not about keeping the vent door open or closed. The solution lies in understanding how to duct heat from a wood-burning stove, which enhances efficiency while ensuring every room is touched by the stove’s cozy embrace. This process enables you to channel the heat from your wood-burning stove around your living space. So, want to learn how to duct heat from a wood burning stove like a pro?
This knowledge is embedded in this article. We’ll delve into the intricacies of wood-burning stoves, exploring their capabilities and limitations in heat distribution. This post further sheds light on the innovative techniques of ducting heat. Whether you’re an expert or a newbie to wood stoves, join us as we unravel the secrets to transforming your wood-burning stove into a comprehensive heating solution.
Our guide to Houston’s best houses and a modernist northside townhouse are other interesting reads that we believe you will enjoy.
How Do Wood Burning Stoves Distribute Heat?
The simple science of air transformation is at the heart of every wood-burning stove. It draws cold air into the combustion chamber, which ignites the fuel and produces hot air. The stove’s structure is designed to maximize heat generation from burning wood, with modern models significantly improving efficiency and safety.
However, one inherent challenge persists: wood stove heat tends to concentrate around the stove. It creates a gradient of warmth that diminishes with distance. In larger spaces or homes with multiple rooms, this results in uneven heating, where some areas bask in warmth while others remain untouched by the stove’s radiance.
That’s where heat ducting comes in– a game-changer in utilizing our wood-burning stoves. By harnessing the hot air produced by the furnace and channeling it through ducts into other areas, it’s possible to achieve a more uniform heat distribution. This process involves using a wood stove duct fan, an essential component that propels warm air along the ducts to desired locations.
Ducting heat doesn’t just spread warmth; it enhances the stove’s efficiency. Instead of overloading the stove to compensate for the areas where cold air lingers, ducting allows for moderated, consistent use of the wood stove. It distributes warm air strategically and maintains a comfortable temperature throughout the home.
Planning Your Heat Ducting System
This phase dictates how effectively the wood stove heat distribution system will function, impacting not just a room but potentially the warmth of your entire house. The goal is to replace cool air in distant corners with the comforting warmth that a wood-burning stove provides. Achieving this requires a strategic approach.
Firstly, evaluate your current setup. What wood stove model are you using, and what is its heat output? Understanding how much heat your stove generates is crucial in planning the ducting system. If your goal is heating multiple rooms or an entire house, the furnace must be sufficiently robust to meet this demand.
Next, consider the integration of a heat exchanger, a pivotal component in enhancing the efficiency of wood stove heat distribution. A wood stove heat exchanger extracts lingering heat from the smoke exiting through the flue, repurposing it into the air the ducting system circulates. This process improves efficiency and contributes to a more sustainable heating solution.
The layout of your home also plays a critical role. Identify the areas that require heating and plan the ductwork route accordingly. Remember that heat naturally rises. Hence, multi-story homes may face more challenges in evenly distributing heat to upper floors.
Lastly, consult with a professional. Ducting heat from a wood-burning stove is a complex process that involves critical variables. Mistakes can be costly, and the system’s effectiveness may be compromised if not set up correctly. Experts can provide insights into the types of ductwork, fans, and heat exchangers suitable for your needs.
What’s the Installation Process?
With a well-outlined plan, the installation process is the next step. This stage is where your plans materialize, weaving through the blueprint of your home to create an integrated heating system. While the prospect of a DIY project may seem appealing, installing a comprehensive heat distribution system involves technical challenges and safety considerations.
Begin by gathering the necessary tools and equipment. The primary components include the ductwork, vents, wood stove heat exchanger, and fans to propel the heat through the ducts. Make sure these components are compatible with your wood stove and suitable for the scale of your project.
Follow a systematic approach to installation:
- Start by setting up the heat exchanger. This unit should be installed near your wood stove to maximize the heat harnessed from the burning wood.
- Lay out the ductwork according to the plan devised in the previous stage. The ducts should provide a seamless channel for the hot air from the stove. That way, it can reach the farthest areas intended for heating.
- Install the wood stove duct fan. Choose a fan to move heat effectively throughout the house, ensuring no room is left with lingering cool air.
- Set up vents strategically, allowing for efficient heat distribution in targeted areas.
- Conduct a thorough test of the system. Check for any leaks in the ductwork and ensure the fan and heat exchanger are functioning optimally.
What are the Principles of Heat Ducting?
Understanding the core principles of heat ducting is essential for anyone wishing to enhance the efficiency and reach of their wood or pellet stove. The primary objective is to direct heated air from the stove to various home parts, replacing the stagnant, cooler air. This process involves several key components and concepts.
First, the system needs an effective method to draw cold air from the room into the stove for heating. This is typically achieved through strategically placed air vents, allowing air to flow freely. The hot air rises, and this natural convection moves the hot air through the heat exchanger. Note that the exchanger gets warmed by the heat from a wood-burning stove or pellet stove. The warm heat exchanger transfers this thermal energy to the air circulating through the duct system.
A wood stove fan facilitates air circulation, ensuring the heated air is pushed through the ducts. That way, it won’t just rise and escape through the chimney or accumulate near the ceiling. This fan, paired with a network of ducts, helps duct warm air into different rooms, each equipped with an air vent to allow the warm air to enter and circulate.
Safety and Maintenance Tips
Implementing a heat ducting system with a wood or pellet stove requires stringent safety measures. One primary concern is the fire hazard associated with wood-burning appliances. Ensuring your system is installed with proper clearances, fire-rated materials, and local fire codes is paramount.
Regular maintenance is also essential. The system should be checked for potential issues like a buildup of creosote, which can present a fire risk. This involves inspecting and cleaning the heat exchanger, ducts, and vents and ensuring the wood stove fan is in good working condition. Professionals should perform more complex maintenance tasks, especially those involving the heat exchanger and fan mechanics.
Additionally, the system should be designed to prevent backdrafts. Backdrafts may occur when the pressure inside is lower than outside, causing outside air to enter through the vents or stove and spread smoke inside the home. Regular checks of air vents and the chimney can help prevent this dangerous occurrence.
Environmental Impact and Efficiency
Ducting heat from a wood-burning or pellet stove is not just about personal comfort. It also has implications for energy consumption and environmental impact. By using wood, a renewable resource, you’re engaging in a more sustainable heating than fossil fuels. However, this comes with the responsibility to ensure that the wood is sourced sustainably.
Efficiency is another critical factor. A well-designed heat ducting system maximizes the heat obtained from each log or pellet. Thus, it reduces the overall amount needed and, consequently, the environmental impact. To achieve this, you should extract more heat from the stove and distribute it throughout the home, minimizing waste.
A heat ducting system’s environmental efficiency also ensures that the heated air is effectively distributed with minimal loss. This involves appropriately insulating ducts, using a warm heat exchanger to transfer as much heat as possible, and strategically placing air vents. That way, you enable the hot air to rise where it’s needed most.
Combining these principles with diligent maintenance practices enhances the safety of your heating system and its efficiency and sustainability.
Step-by-Step Guide on How to Duct a Stove

Ducting a stove, whether for wood burners or pellet stoves, is a process that requires precision, understanding of heat dynamics, and adherence to safety protocols. Here’s a detailed step-by-step guide:
Assessment and Planning
- Evaluate your home’s layout to optimize heat distribution, considering that hot air rises.
- Determine the capacity of your existing stove and whether it can effectively act as a central heating system.
- Plan the route of the central heating ducts, ensuring they reach all areas intended for heating.
Gather Required Materials
- Source a high-quality heat exchanger suitable for your stove type.
- Purchase heat-resistant ductwork that complies with safety standards to prevent fire hazards.
- Acquire a wood stove fan with enough power to circulate air through the ducts.
- Other materials include vents, fasteners, and insulation.
Installation of Heat Exchanger
- Install the heat exchanger as close as possible to the stove. This is where cold air passes and warms up before distribution.
- Ensure there’s proper clearance to avoid overheating and potential fire risks.
Ductwork Installation
- Install the central heating ducts as per the planned routes. Ensure you properly insulate the ducts to maintain the temperature of the air.
- Set up the wood stove fan to propel the air through the ducts, ensuring heat distribution to various house parts.
Integration with a Heat Pump (if applicable)
- We recommend professional assistance if you integrate with a heat pump or existing HVAC system.
- Ensure both systems are compatible and can work efficiently without overloading any component.
Setting Up Vents
- Install vents in each room or area where heat distribution is desired. The vents are where the hot air enters the space.
- Ensure vents are adjustable to control the heat entering each space.
Safety Check and Testing
- Before the entire operation, conduct a comprehensive safety check and confirm the installations.
- Test the system by running it for a few hours. Observe how effectively it heats the intended areas and if the hot air rises appropriately through the vents.
Regular Maintenance
- Schedule routine inspections of the heat exchanger, ducts, and vents.
- Monitor the overall system for any signs of wear, damage, or inefficiency.
Key Takeaways
Embracing the warmth of a wood burner or pellet stove doesn’t have to be a luxury enjoyed in a single room. Homeowners can transform their standalone stoves into efficient central heating systems. The key to this is the principle of heat movement and the technology available.
When carefully planned and installed, ducting systems offer an eco-friendly, cost-effective solution to traditional heating methods. However, this isn’t a casual DIY project. It demands respect for the forces at play, adherence to safety protocols, and regular maintenance to prevent issues like fire hazards.

